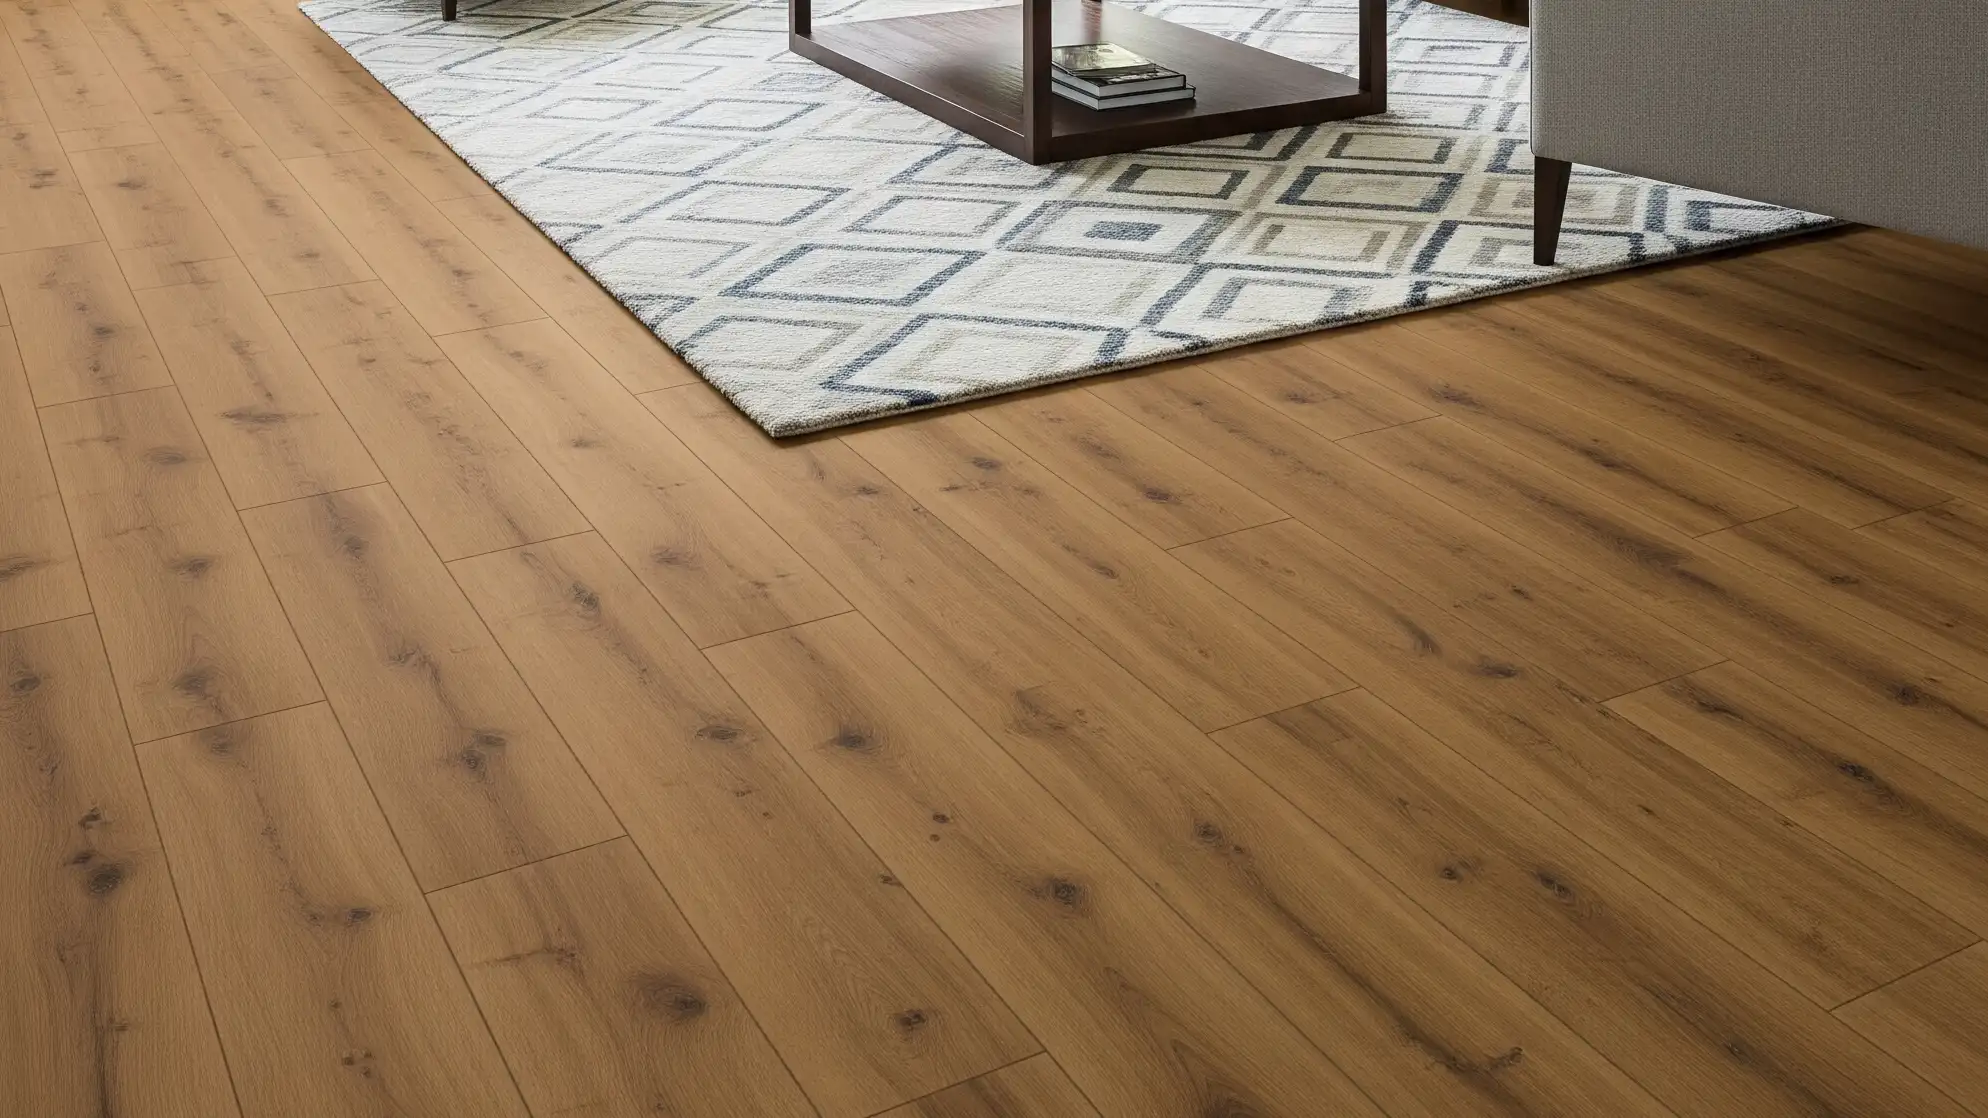
Hardwood floors bring timeless beauty and elegance to any home. Their natural charm enhances a…
Step 1: Initial Assessment
Before starting the refinishing process, the condition of the hardwood floor is evaluated to determine the level of work required.- Inspection: Any deep scratches, stains, or uneven areas are noted.
- Decision on Repairs: Minor repairs, such as filling cracks or replacing damaged planks, may be addressed before sanding.
- Determining Finish Type: The type of finish—such as oil-based or water-based polyurethane—is chosen based on preferences for durability and sheen.
Step 2: Preparing the Space
Proper preparation is key to ensuring a smooth refinishing process.- Furniture Removal: All furniture and rugs are cleared from the room to allow full access to the floors.
- Sealing the Area: Adjacent rooms and vents are sealed with plastic to minimize dust spreading during sanding.
- Cleaning the Surface: Floors are thoroughly cleaned to remove any debris or residues.
Step 3: Sanding the Floors
Sanding removes the old finish and evens out the surface, creating a clean slate for the new finish.- Equipment: A drum sander is used for large areas, while an edge sander handles corners and tight spaces.
- Multiple Passes: Sanding is typically done in stages, starting with coarse-grit sandpaper to remove the old finish and progressing to finer grits for a smooth surface.
- Dust Collection: Many modern sanding machines include dust collection systems to reduce mess.
Step 4: Staining (Optional)
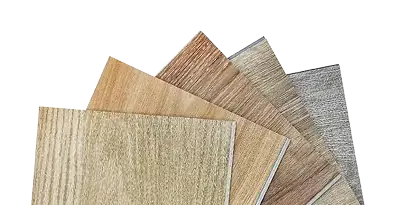
If you want to change the color of your hardwood, staining can be applied after sanding.- Choosing a Stain: There are a variety of stain colors available, from light natural tones to rich, dark hues.
- Application: The stain is applied evenly and allowed to penetrate the wood before excess is wiped away.
- Drying Time: Stain needs time to dry completely before the finish is applied, which can vary depending on the type of stain used.
Step 5: Applying the Finish
The final step involves sealing the wood with a protective finish to enhance its durability and appearance.- First Coat: The first coat of finish is applied with a roller or brush, ensuring even coverage.
- Buffing: After the first coat dries, the floor is lightly buffed to smooth out imperfections and prepare it for additional coats.
- Multiple Coats: Most floors require two to three coats of finish for optimal protection and shine. Each coat must dry completely before the next is applied.
Step 6: Final Curing and Clean-Up
Once the final coat is applied, the floors need time to cure before they’re ready for use.- Curing Period: Depending on the type of finish, it may take 24-48 hours before light use is allowed, and up to a week for full curing.
- Replacing Furniture: Furniture can be carefully moved back after the curing period, and felt pads should be added to prevent scratches.
- Maintenance Tips: To maintain the refinished floors, use gentle cleaning products and avoid dragging heavy items across the surface.
Benefits of Refinishing Hardwood Floors
Refinishing your hardwood floors offers several advantages:- Restores Appearance: Sanding and finishing bring back the original shine and color of your floors.
- Increases Longevity: Refinishing extends the life of your hardwood by adding a protective layer.
- Customizable Look: Staining provides an opportunity to refresh the look of your space with a new color.
- Cost-Effective: Refinishing is more affordable than replacing hardwood floors entirely.